Solibri BCF Connector provides a direct link between Solibri and cloud-based BCF servers. The workflow of communicating issues and comments is streamlined so that there is a full audit trail of issues and the responsible team members. You can easily upload, download, publish and synchronise issues between a BCF server and Solibri.
Note
Note that BCF Connector is only available in Solibri v9.10 or older. If you are using Solibri Office or Site v9.12.0 or newer, please refer to the BCF Live Connector documentation.
BCF Connector supports two connection technologies: a direct connection to BIMCollab using technology developed by KUBUS, and a standardised connection to other common data environments (CDEs) supporting the BCF API.
To use BCF Connector, you will need an account in the CDE of your choice. Currently, the following CDEs are supported:
-
Aconex
-
BIM Track
-
Catenda bimsync
-
KUBUS BIMcollab
-
Trimble Connect
Note
If you're using Windows and KUBUS BIMcollab, you need to have the Microsoft Visual C++ 2010 Redistributable Package installed. You can download it from here:
To be able to connect to a BCF server, you first need to define the connection. You can define more than one connection, which enables you to work in several projects at the same time.
You can define the connection when you're synchronising issues or importing issues to a presentaion, or you can open the BCF Connector Settings.
To define a connection:
-
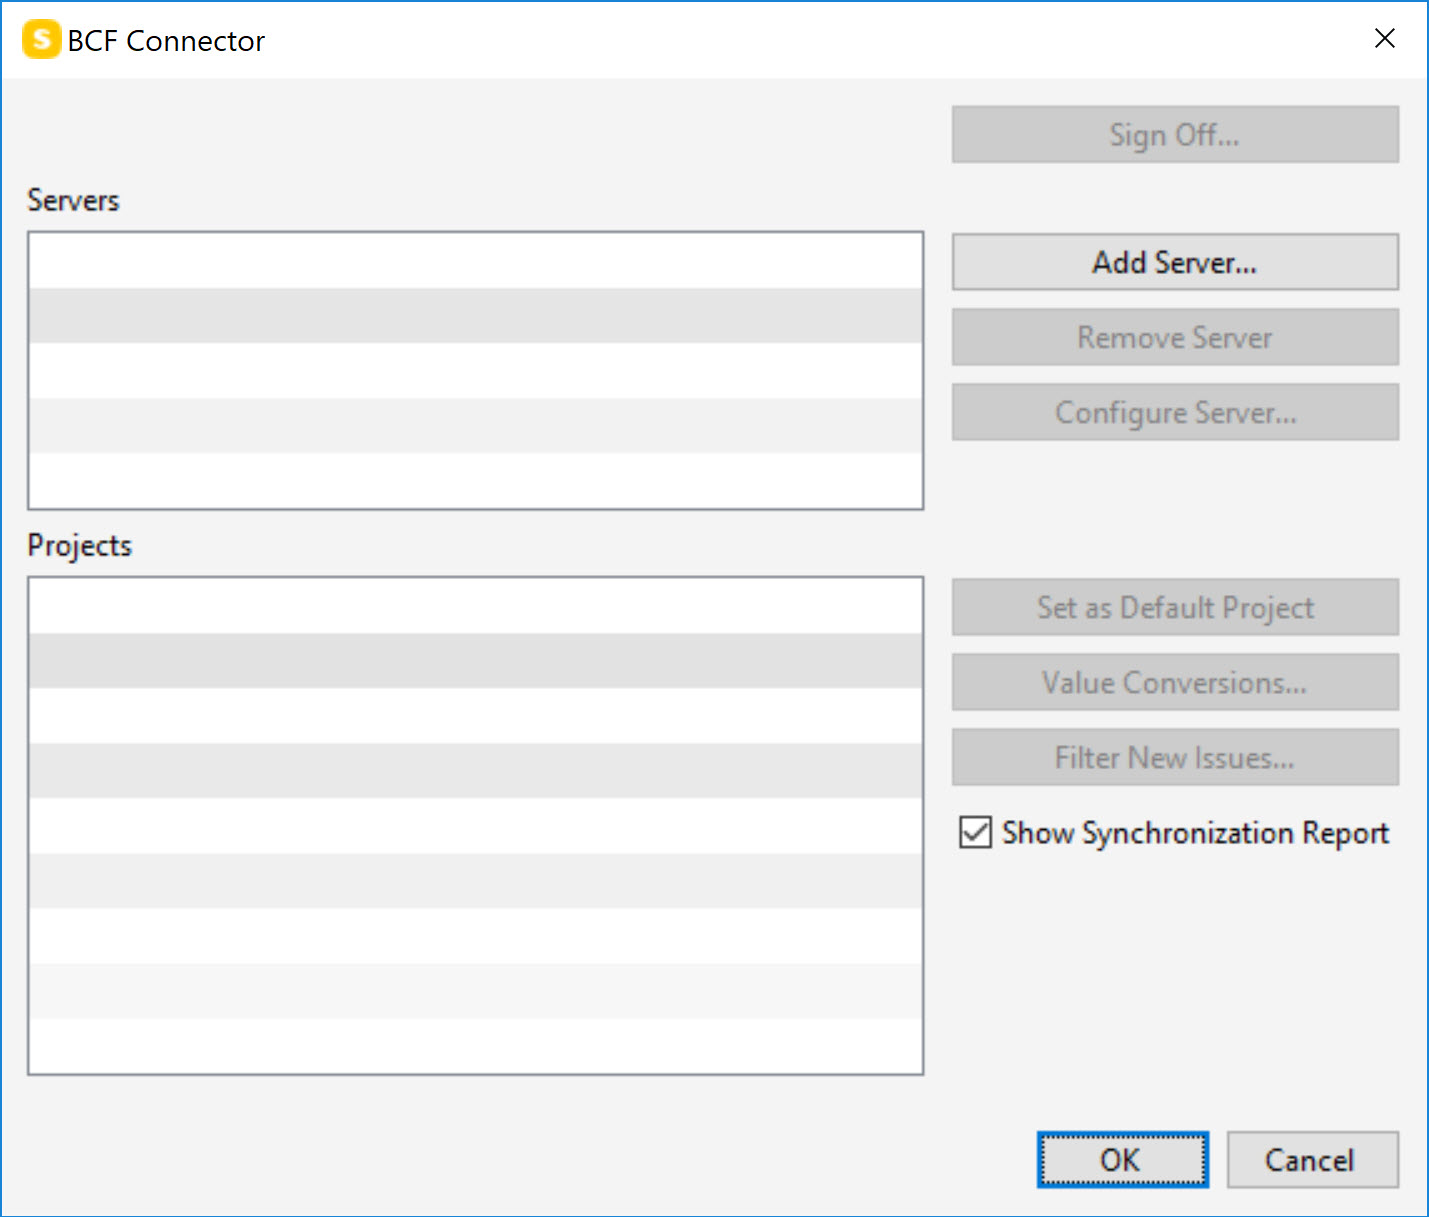
Click Add server:

-
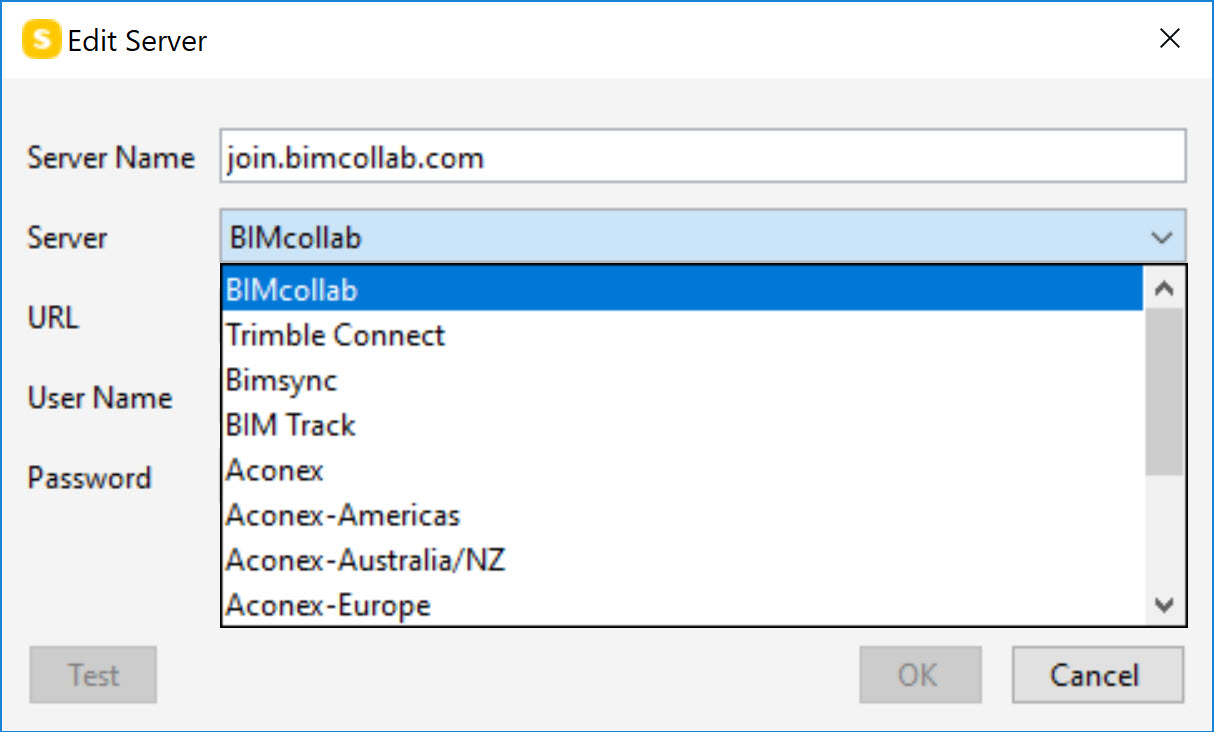
A dialog opens:

-
Select the server from the drop-down menu:

-
If you selected BIMcollab, enter your username and password. Click Test to test the connection.
If you selected any other server, click Authenticate. A web browser window opens. Sign into your account and confirm the connection.
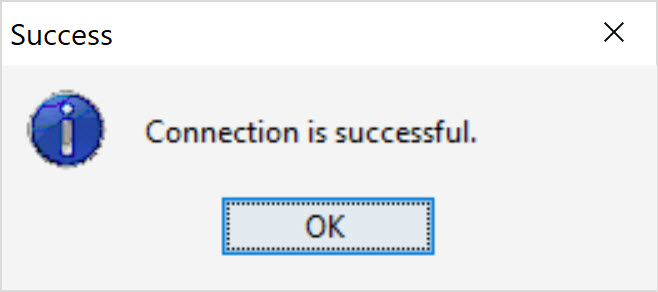
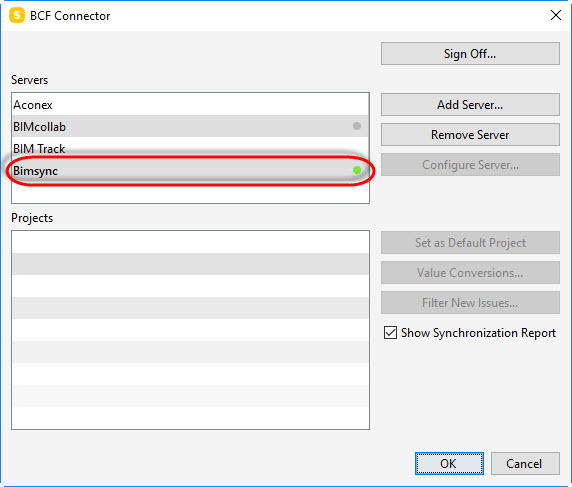
When the connection has been established, a confirmation dialog opens. Click OK:

-
Click OK to save the connection.
To access BCF Connector settings, click File, then Settings, then BCF Connector.
In the BCF connector settings, you can connect to a BCF server. The projects on the server are listed under Projects.
-
To sign off from a server, select the server(s) and click Sign Off.
-
To remove a server from the list, select the server(s) and click Remove Server.
-
To set a project as a default project, select the project and click Set as Default Project. The default server and project are shown in bold:

-
To edit the default value conversion settings related to the project, click Value Conversions.
-
To edit the default filter settings related to the project, click Filter New Issues.
-
If you mark the Show Synchronization Report checkbox, the report is shown when synchronisation is complete.