This third tutorial in the Rules Tutorial Series is about roles and resources in Solibri. In this tutorial, you'll learn what roles are and how to use them in Solibri. You'll also learn how to edit roles and resources, and how to create a new role which you can take into use in other projects as well.
Note
The video related to this tutorial article can be found here.
The tutorial covers the following topics:
To start this tutorial, open Solibri, go to the File menu and select Roles:
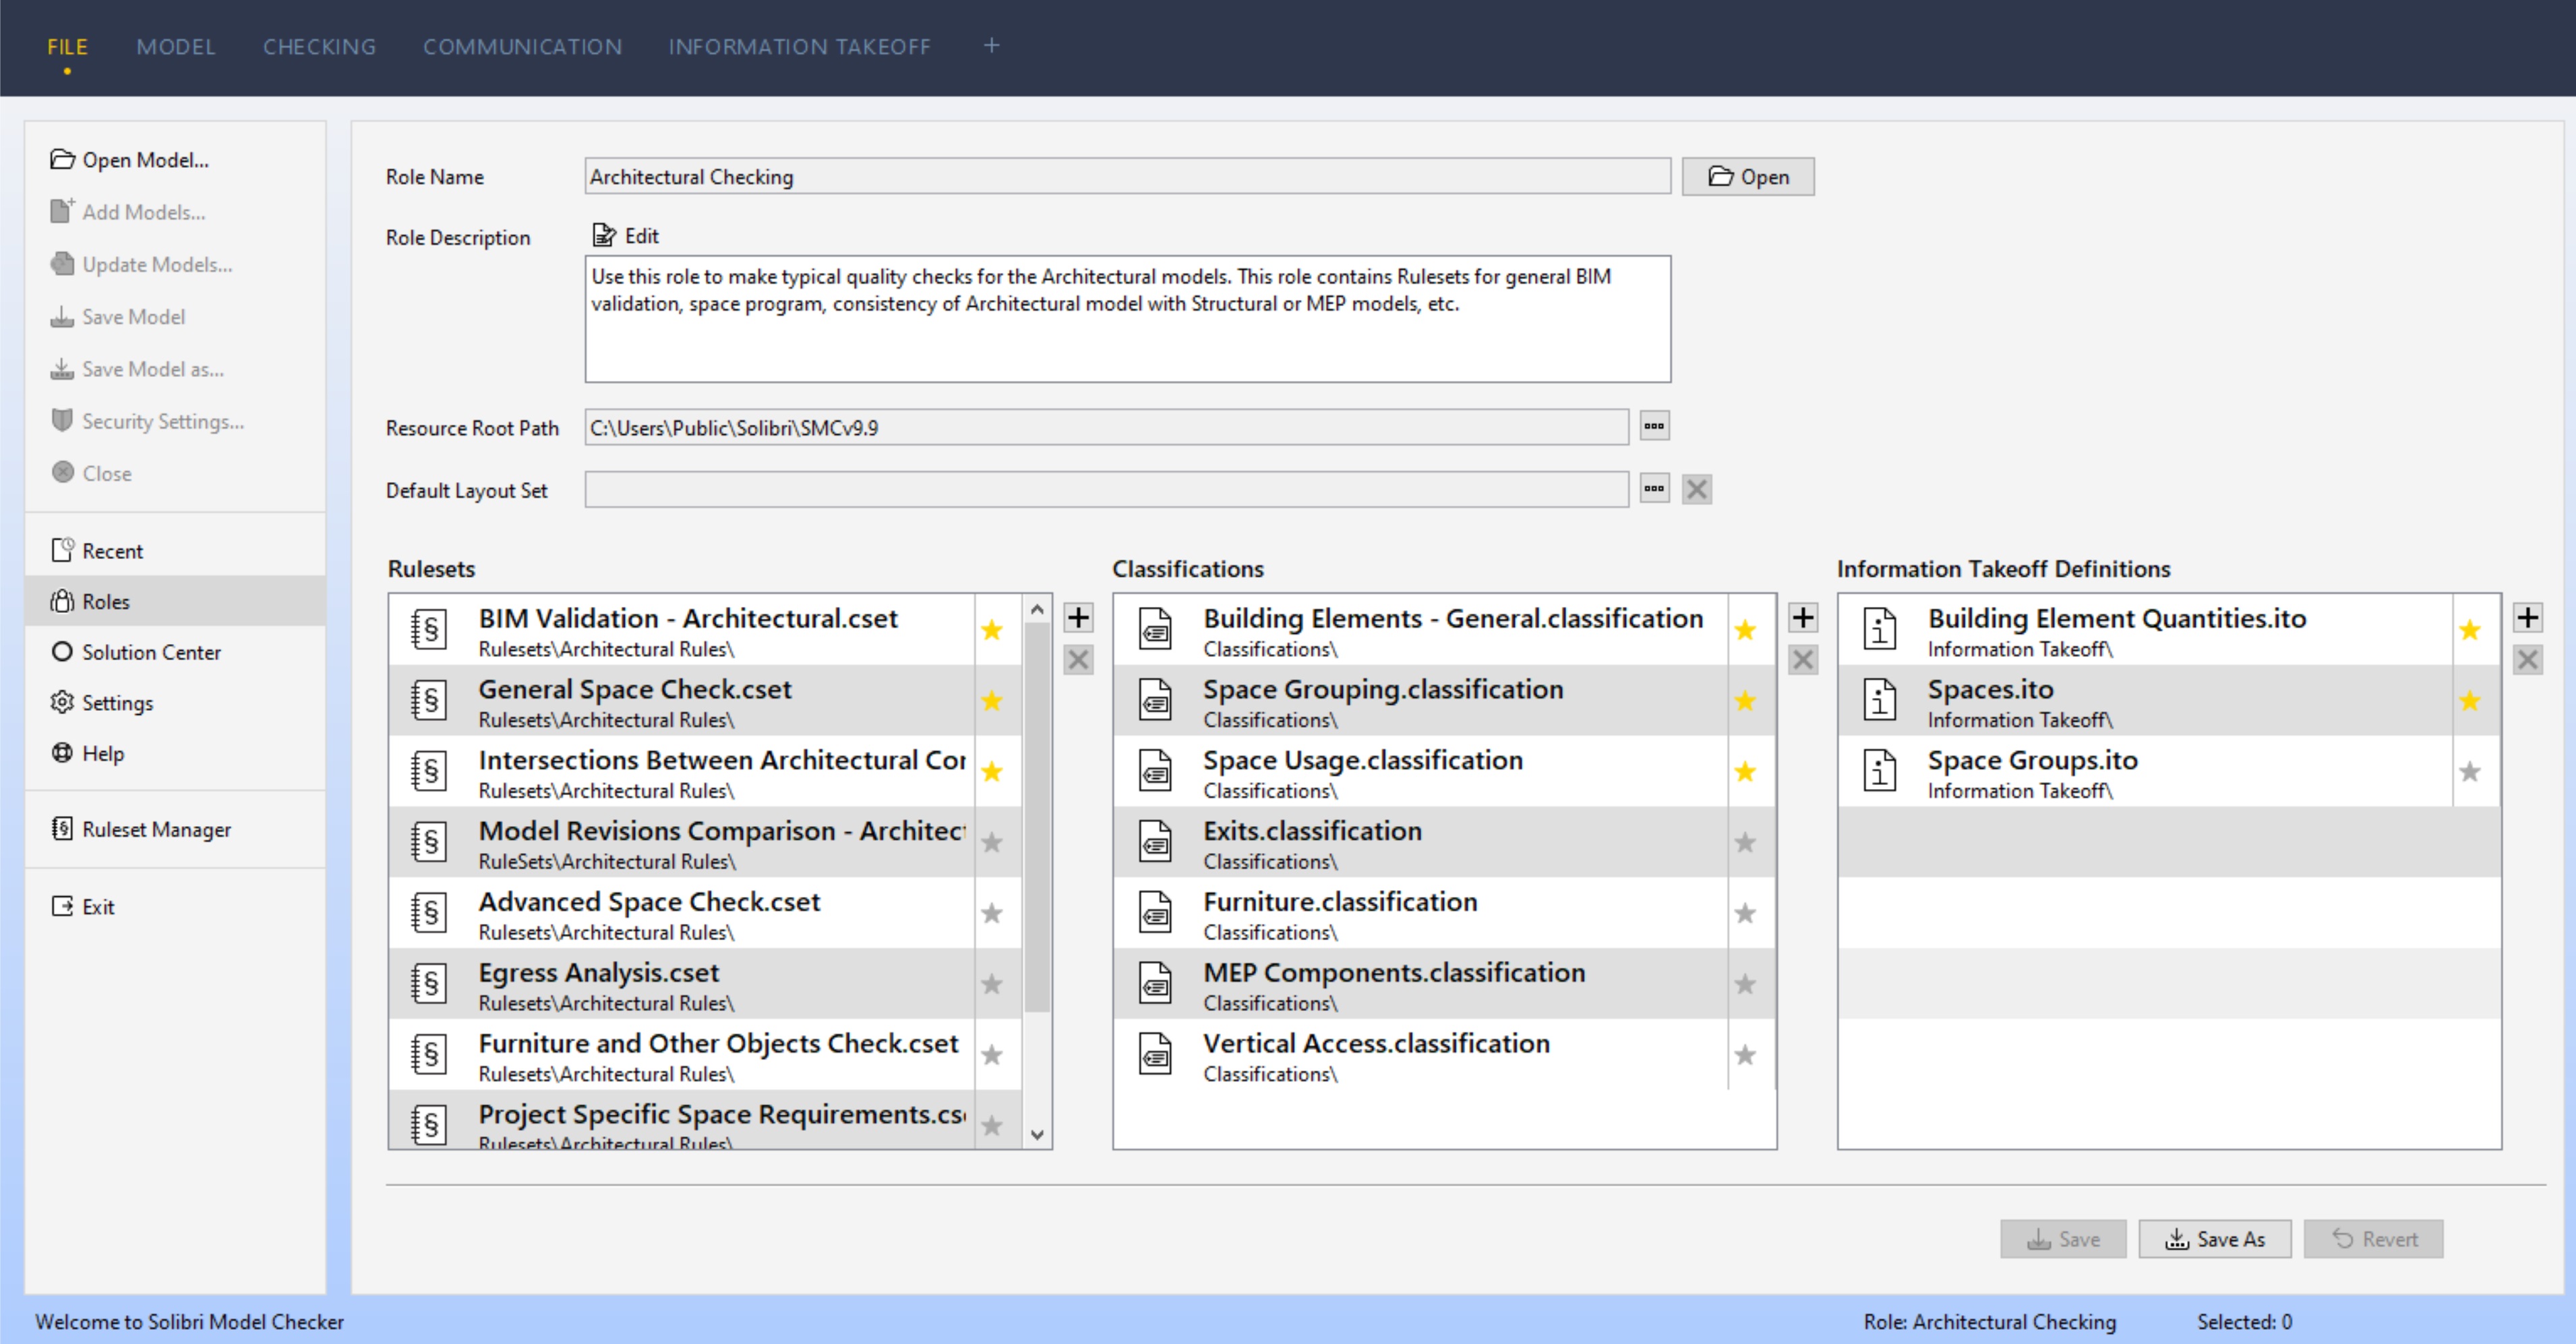
A role contains a set of pre-configurable resources, which include rulesets, classifications and information takeoff definitions. It's also possible to predetermine the screen layouts that the users will see when adopting a specific role.
Roles help package an environment to deliver consistent use of required resources within a controlled and structured workflow. Although Super Users can manually load resources from any location for each project, this should not be the norm when using Solibri.
The resource root path defines the location for the role to access the associated resources. When creating or adding to a role, resources can only be loaded from this defined resource root path location. By default, the resources shipped with Solibri are installed to the following locations:
-
Windows: Windows (C:) > Users > Public > Solibri > SOLIBRI
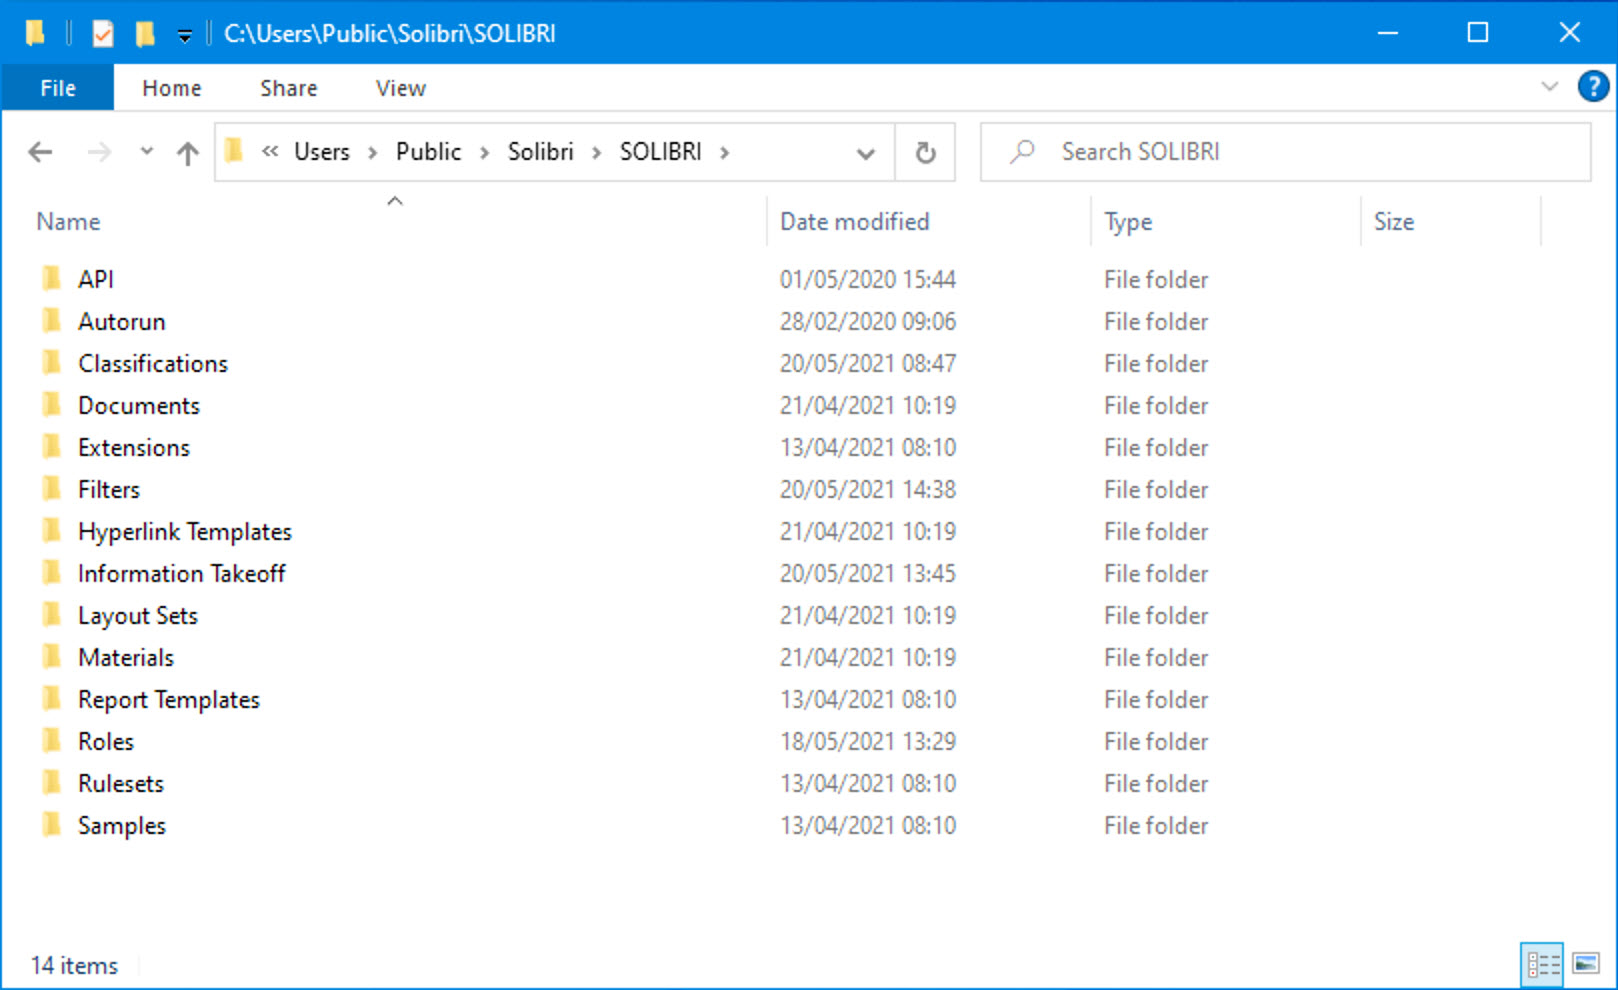
-
MacOS: Applications > Solibri
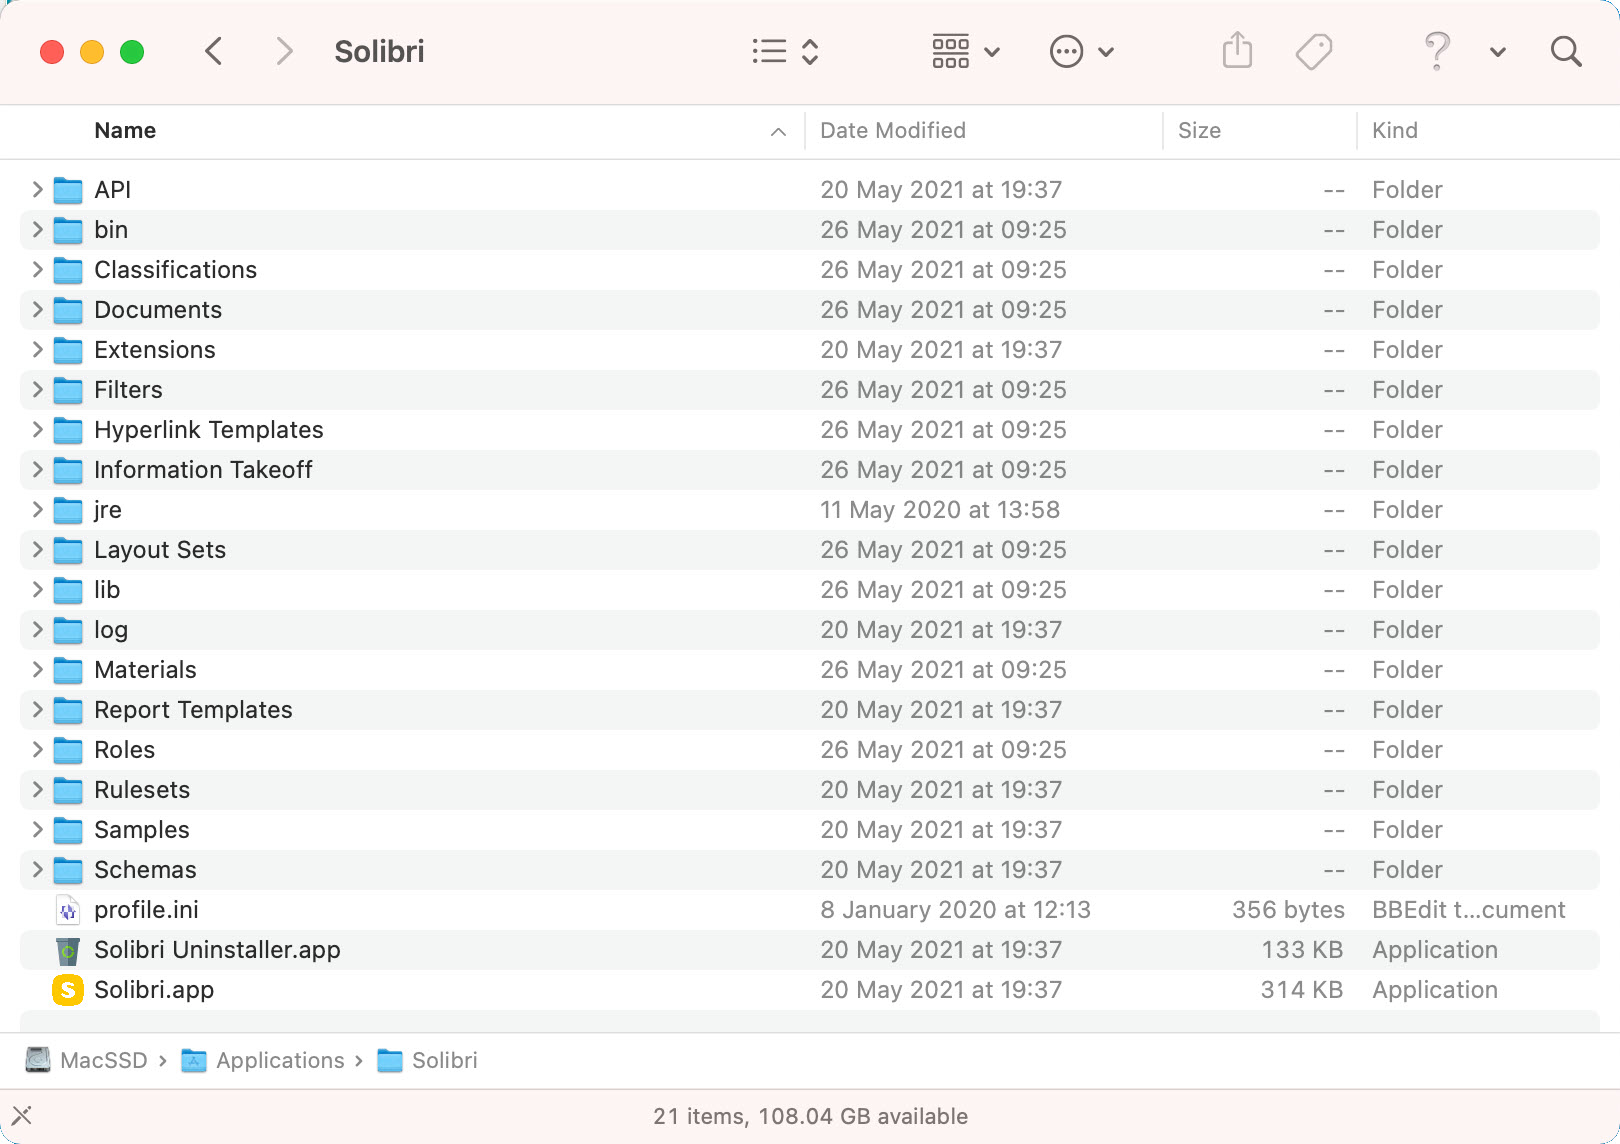
Location recommendations for storage of resources depend on whether you are a sole practitioner or part of a multi-user Solibri deployment.
-
Sole practitioner:
Windows: the default resource directory can be used with any new resources appended to this location. Files created here will remain when versions are installed or uninstalled.
-
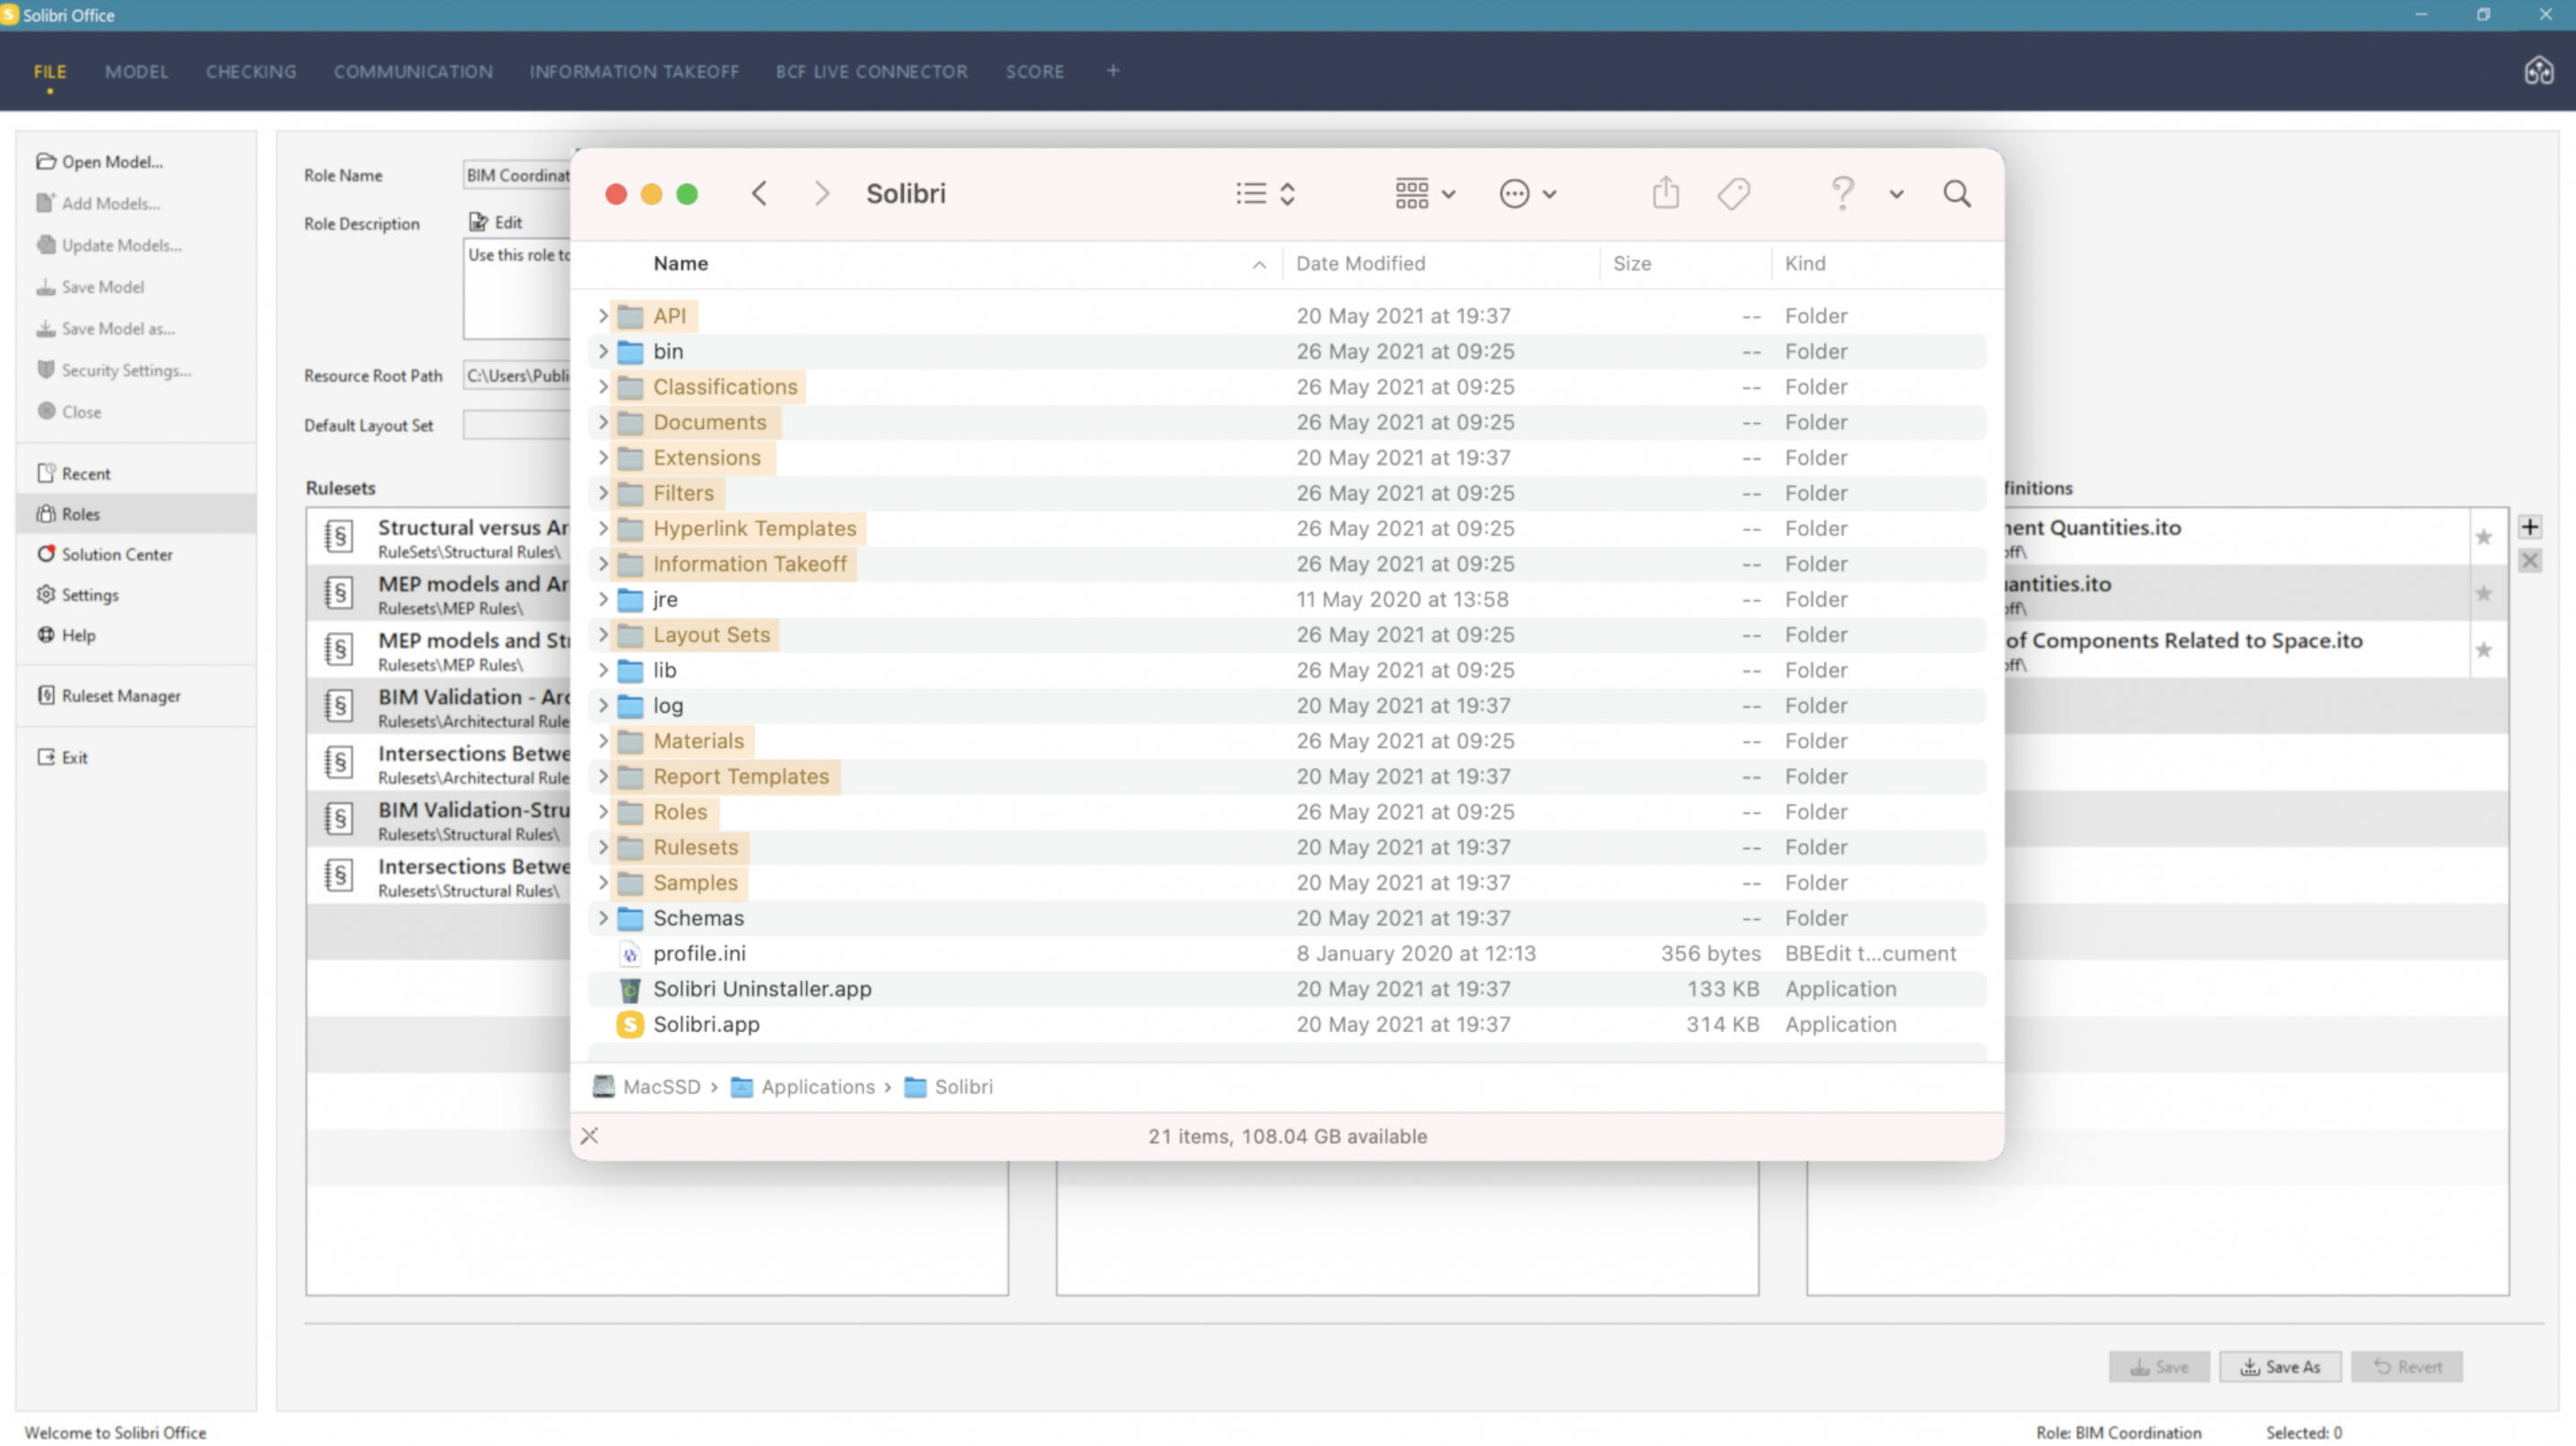
MacOS: installs the resources into the application folder and although when uninstalling the application, it does not delete any resources created by the user, writing data to this MAC application directory is not advised. Therefore, create a resources folder in a user-based location and copy the following folders to that location:
API
Classifications
Documents
Extensions
Filters
Hyperlink Templates
Information Takeoff
Layout Sets
Materials
Report Templates
Roles
Rulesets
Samples
-
Company with more than one Solibri user:
To provide consistent results, all users should access and run the same set of resources. There can be no quality control if each user is checking models utilising their own version of the rules.
It’s also advisable to set the access rights to this central resource location to "read only" for all users other than for the rule creators.
You can change the resource root path location, but to ensure that any existing resources are successfully located, it’s a good idea to keep the folder structure intact. Each resource will show the path from the resource root path. To ensure any existing resources will still function correctly, move only the resource folders and keep the subfolders the same.
Now you can test changing the resource root path:
Create a new local folder named Solibri Resources, for example on your desktop.
-
Copy the following Solibri resource folders to this new location:
API
Classifications
Documents
Extensions
Filters
Hyperlink Templates
Information Takeoff
Layout Sets
Materials
Report Templates
Roles
Rulesets
Samples
-
In Solibri, set the resource path to this new location:


Any new roles created will automatically store the current resource root path location to the root value contained within the roles XML files.
Note that existing roles, which have been created and copied from other locations, will revert the resource root path back to the original saved location when you open them. If you want to continue using these roles and use the new resource location as the resource root path, do the following:
Open the role from the new location. Notice that the resource root path changes back to the default value.
Set the resource root path back to the new location.
To save the role, click Save.
Tip
If you have multiple roles for which you need to update the resource root path, you can open the appropriate role.xml in a text editor and change the root value to the same as the one we have just saved. This removes the process of switching the resource path continually backwards and forwards for multiple role adjustments.
Next, we'll create a new role that contains both our first and second rulesets created in the previous tutorials to this new resource location. To create a new role open and save a version from an existing role:
-
Open the Bim Coordination role from the resource location.
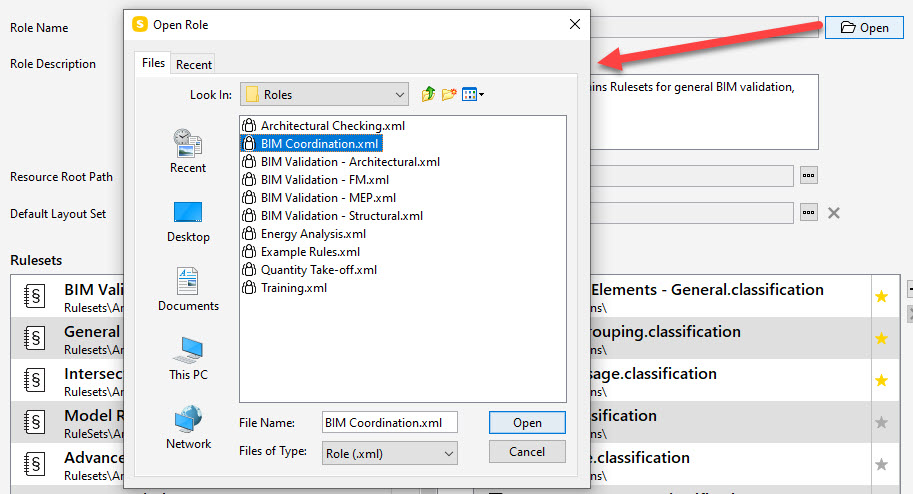
-
If necessary, check and set the resource root path to the new resource location:

-
Click Save As and name the role My first role:

-
To change the role description, click Edit. Change the description to My first role and click OK:
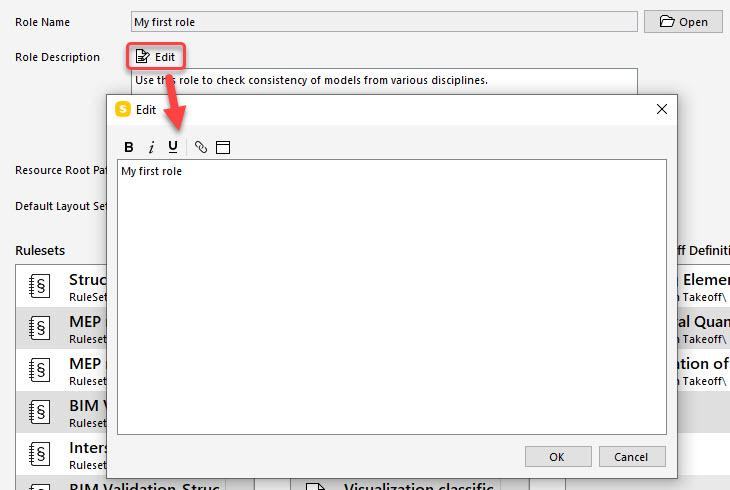
-
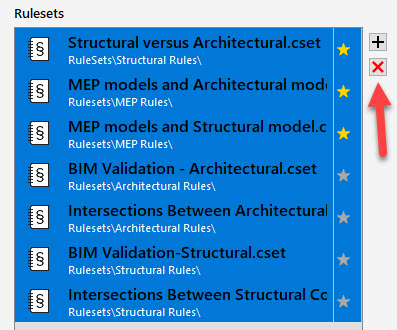
Remove the existing rulesets by selecting them and then clicking
 :
:
-
Add both My first ruleset and My second ruleset to the rule list. To do this, click
 , navigate to the rulesets and click Open:
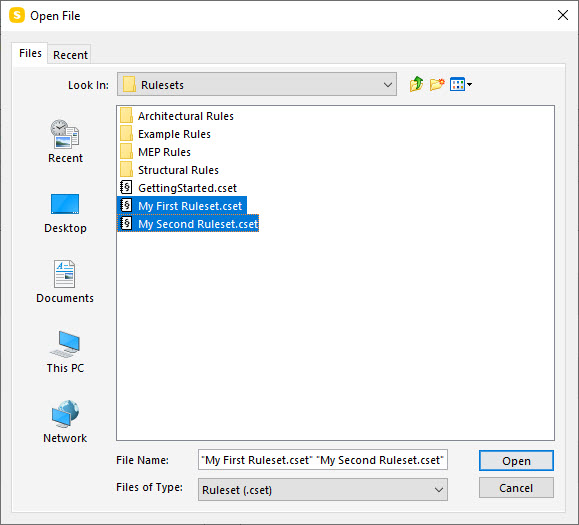
Activate the gold star (
 ) to ensure that these two are automatically loaded when starting a new project.
To update the role, click Save. You can now use this role to automatically pre-load models with your resources upon opening the first IFC model.
You have now completed the third tutorial in the series: created a new role which uses the two rulesets you created in the first two tutorials. In the next tutorial, you will learn to refine the rules you created.